The lovely Jamie Malden
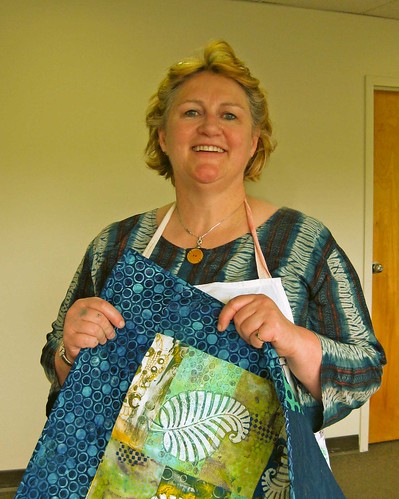
Colouricious designs, makes and sells their own wooden printing blocks, for block printing onto fabric, papers, clay and mixed media art products. Block Printing is an ancient Indian printing technique. Their wooden printing blocks are all hand carved in the traditional Indian method in south India.
We started off using small wooden blocks on a white apron designed and provided by Jamie. A sponge is used to dab the paint on the wooden blocks you also need a form mat under your fabric or paper. By the time we finished our aprons using a variety of wooden blocks, a few colors of paint and different printing patterns (straight line, checkerboard, mirror image, shadow) we all felt confident in our abilities to sponge the paint on the block and print to our hearts content. After the paint is dry you need to iron it to make is permanent. This is important if you will be washing the fabric you just printed.
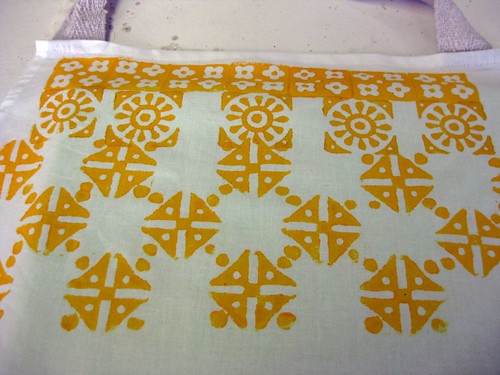
My very first rows of printing with a wooden block
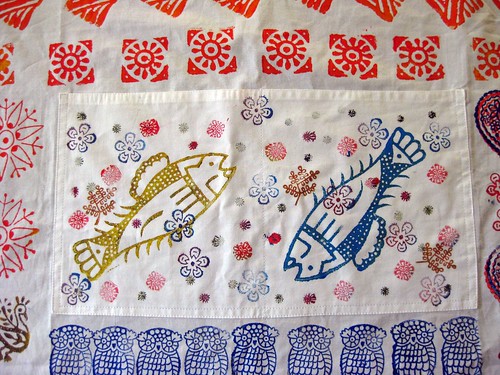
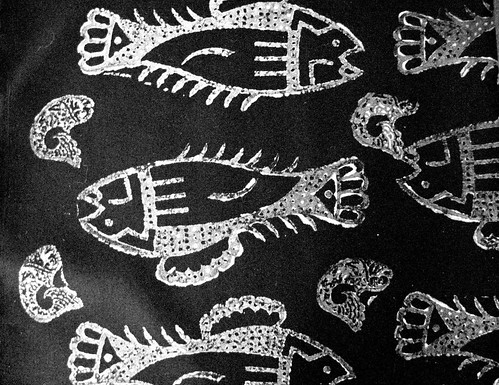
The apron pocket with large fish stamp - there are also tiny, tiny stamps and how cute is that owl . . .
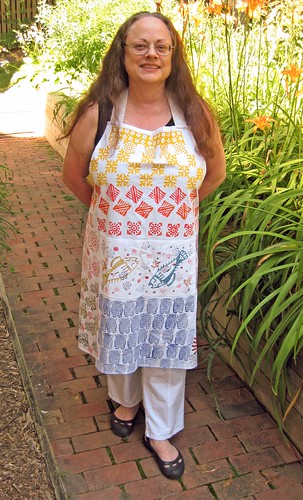
The completed apron
Wipe the sponges soaked in paint on some fabric then you can print more layers of stamps on the fabric. You can also put your sponges in a bucket of cold water along with fabric the paint on the sponges will dye the fabric. When cleaning the wooden blocks you can wipe the paint off using a piece of fabric which will then be dyed then scrub them with a toothbush. Jamie taught us many ways to never waste a bit of paint or fabric. I found that it's a good idea to change sponges periodically - if you don't all the colors of ink on your palette will mix and turn to brown.
While we were at lunch Jamie washed the sponges and blocks to get ready for the next session.
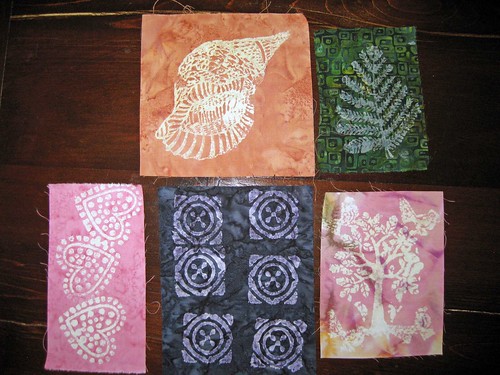
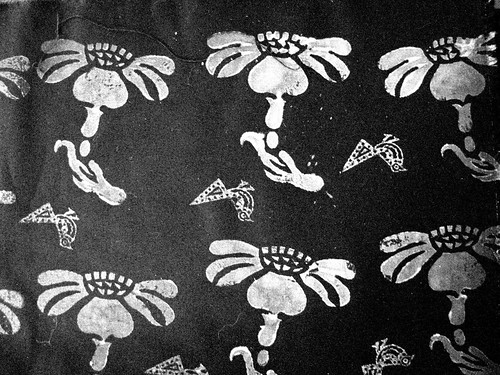
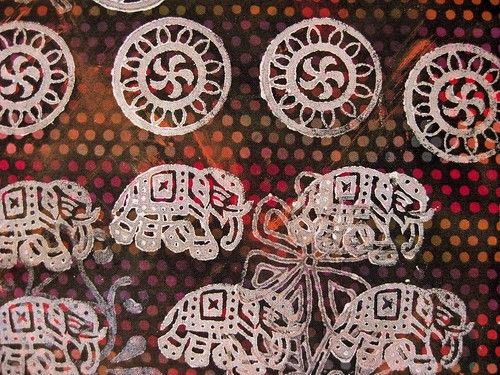
After lunch we received a variety of small pieces to fabric and a piece of black fabric. The next lesson was on decolourant. A non toxic product that removes color from the base fabric. We used our clean sponges and dabbed decolourant on the wooden blocks and printed them on our fabric. After the decolourant dries you iron it. The heat of the iron (a very hot iron works much better) will activate the decolourant and your image will appear. This does not work on all fabrics. You need to test a swatch first.
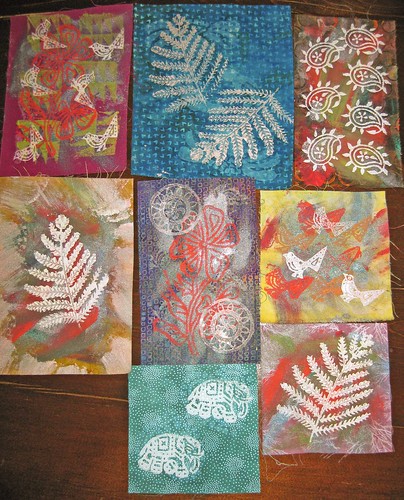
Fabric that worked
For the swatches that did not work we painted and stamped on them. We also used fabric that was in the "ugly" pile and painted and stamped on it to change it into fabulous one of a kind fabric.

This was a fabulous class! Jamie Malden is an excellent and very patient teacher. I just love to take classes where you don't have to worry about bringing supplies. I highly recommend giving yourself a treat and take some classes at Artistic Artifacts!
This great class photo is from Artistic Artifacts.

3 comments:
Linda, your photos are wonderful...a great capture of the day! Now to see what you create with them...
Wow! What fun. Sorry I was busy and not able to take the class.
Hi Linda!! so glad that you ahd achance to take this class!! looks like it was jam packed with fun and good info!! Love the blocks you used!! big Hugs!
E
Post a Comment